Banish Blemishes Naturally — Here’s How
Your Skin-Saver Menu: Intro | Ingredients | Recipe | How to Use | FAQs
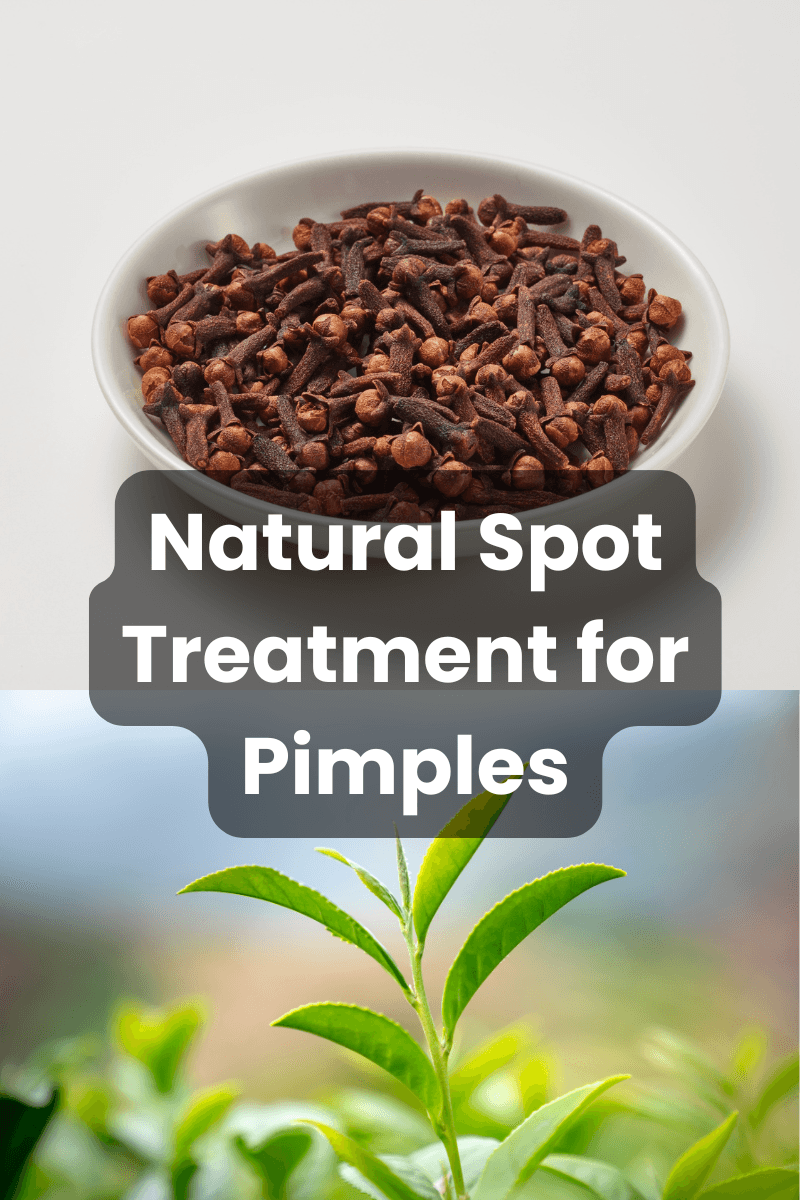
Natural spot treatment is more than just a buzzword — it’s a kinder, more sustainable way to treat pimples without exposing your skin to harsh chemicals. If you’ve ever used commercial acne products and ended up with peeling, dryness, or sensitivity, this DIY is your skin’s gentle rescue. With just three powerful ingredients — clove oil, tea tree oil, and aloe vera — this homemade recipe targets breakouts effectively, but without the burn.
Let’s walk you through why this natural spot treatment works, how to make it, and how to use it for best results. Spoiler: your skin will thank you!
Why Choose a Natural Spot Treatment?
Let’s be honest — almost all of us have had that frustrating moment where a pimple shows up right before an important event. Out comes the acne cream, right? But what happens next? Your skin might sting, flake, or end up with a dry red patch — sometimes even worse than the pimple itself.
That’s because most commercial spot treatments are packed with strong synthetic actives like salicylic acid, benzoyl peroxide, or alcohol. While these ingredients can shrink pimples, they also tend to disrupt the skin’s natural barrier, leaving it irritated, dehydrated, or sensitive in the long run.
This is where a natural spot treatment makes all the difference.
Instead of harsh chemicals, natural alternatives use gentle yet powerful plant-based ingredients that work in harmony with your skin. Essential oils like clove and tea tree aren’t just trendy — they’ve been trusted in traditional medicine for centuries to treat wounds, infections, and inflammation. When formulated properly, they help fight acne-causing bacteria, calm redness, and support healing without side effects.
Here’s why switching to a natural spot treatment is worth considering:
- Effective, yet gentle – They treat pimples at the source, without triggering dryness or irritation
- Skin-barrier friendly – They respect your skin’s natural balance and microbiome
- Free from artificial preservatives and harsh additives – No parabens, phthalates, or unnecessary chemicals
- Budget-friendly and DIY-friendly – You can make a fresh, effective blend at home with just a few ingredients
And perhaps most importantly, a natural spot treatment encourages you to slow down and care for your skin intentionally — not just aggressively “zap” zits. It’s skincare rooted in healing rather than damage control.
So, if you’re looking for a cleaner, kinder way to deal with breakouts, this simple yet powerful DIY with clove and tea tree oil might just be your skin’s new best friend.
Star Ingredients in This Natural Spot Treatment
When it comes to DIY skincare, using the right combination of ingredients can make all the difference — especially for something as targeted as treating breakouts. This homemade natural spot treatment relies on three star ingredients that are known for their antimicrobial, anti-inflammatory, and skin-soothing powers. Let’s break them down:
Clove Essential Oil – The Pimple Shrinker with a Punch
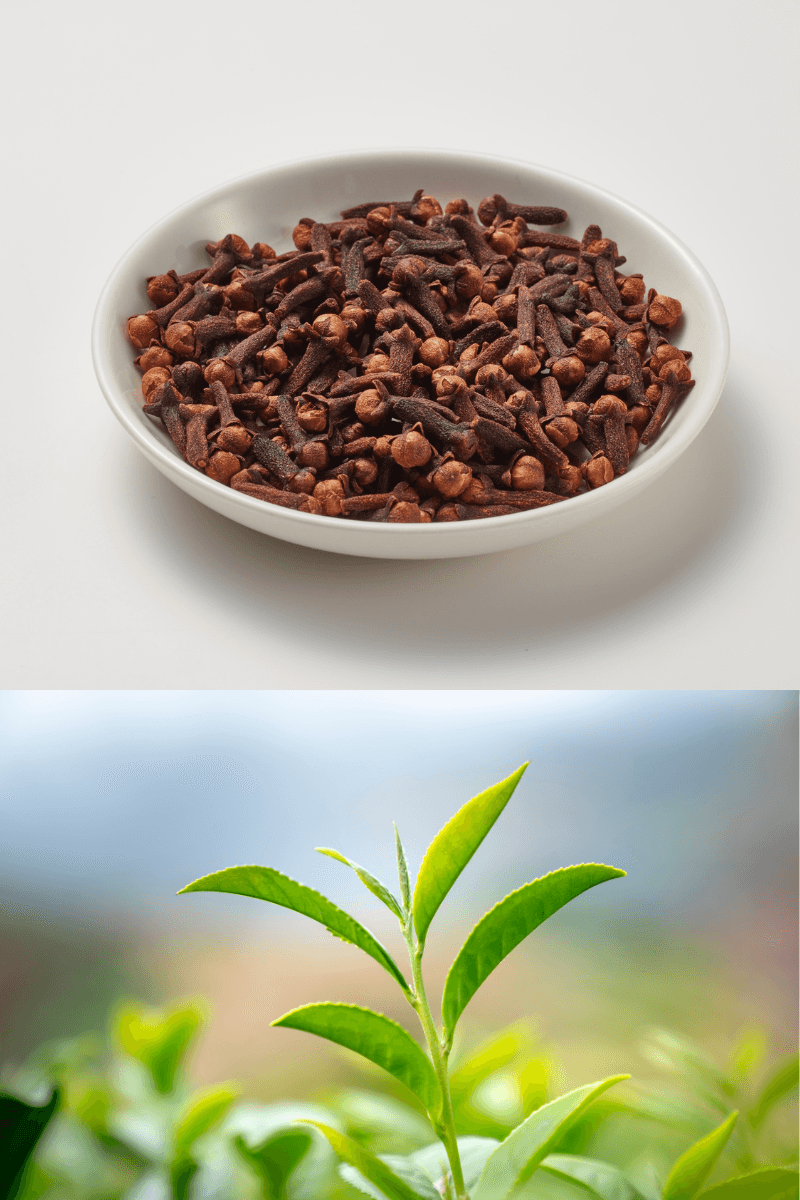
Clove oil might not be as famous as tea tree, but it’s a hidden gem in acne care — especially for inflamed or cystic breakouts. Extracted from clove buds, this essential oil contains a powerful compound called eugenol, which acts as a natural antiseptic and pain reliever.
It’s not just good at killing acne-causing bacteria — it also helps reduce swelling, redness, and discomfort that comes with deep pimples. Many traditional skincare systems, including Ayurveda, use clove oil to treat skin infections and blemishes.
✅ Great for: painful, swollen acne, pus-filled zits, and hormonal breakouts
💡 tip: Clove oil is very strong — always use just 1–2 drops and dilute it well to avoid sensitivity
Tea Tree Essential Oil – The Classic Zit Zapper
There’s a reason tea tree oil has been a staple in acne care for years — it’s one of the most researched natural remedies for pimples. Derived from the Australian Melaleuca tree, tea tree oil is loaded with terpinen-4-ol, a compound known for its antibacterial and anti-inflammatory benefits.
It helps clear out clogged pores, calms active breakouts, and even prevents new pimples from forming when used consistently. Unlike alcohol-based spot treatments, it won’t overdry your skin — making it perfect for daily use in a natural spot treatment.
✅ Great for: whiteheads, blackheads, early-stage pimples, and oily T-zones
💡 Bonus tip: With regular use, tea tree oil also helps fade post-acne redness and marks
Aloe Vera Gel – The Calming, Cooling Carrier
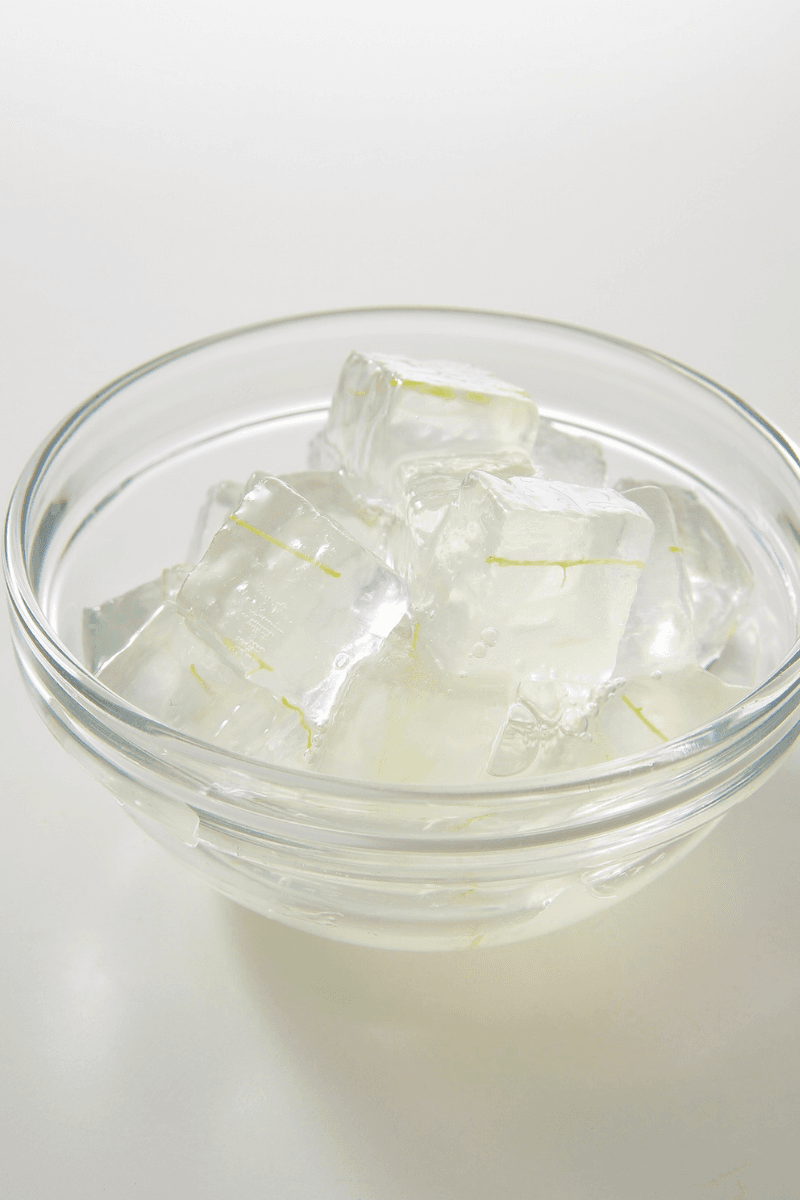
Essential oils should never be applied directly to your skin — especially on broken or inflamed skin. That’s where aloe vera gel comes in. It acts as the base of this natural spot treatment, allowing the oils to blend safely while delivering hydration and healing properties of its own.
Aloe vera is rich in vitamins, enzymes, and amino acids that soothe irritation, reduce redness, and encourage skin regeneration. It gives this DIY treatment a lightweight, non-greasy texture that absorbs quickly — no sticky feeling!
✅ Great for: calming sensitivity, hydrating acne-prone skin, and speeding up post-pimple recovery
💡 Pro tip: Look for fragrance-free and color-free aloe gel — the simpler, the better!
Together, these three ingredients create a balanced, effective, and skin-loving solution to tackle breakouts without relying on harsh chemicals. This combo brings the best of nature — antibacterial power, anti-inflammatory action, and soothing hydration — all in one small jar.
Ready to mix them into your DIY? 👉 Jump to the Recipe
How to Make the DIY Clove & Tea Tree Natural Spot Treatment
Ingredients:
- 2 tablespoons aloe vera gel
- 2 drops clove essential oil
- 3 drops tea tree essential oil
- (Optional) 1 drop lavender oil – for extra calming
Tools:
- A clean, dry glass jar
- A spoon or stirrer
- Cotton swab or clean finger for application
Method:
- In a small bowl, add the aloe vera gel.
- Add the essential oils, one drop at a time.
- Stir well to combine.
- Transfer into your sterilized glass jar.
- Store in the refrigerator for up to 10 days.
Note: Always use clean hands or a swab to avoid contamination.
How to Use This Natural Spot Treatment
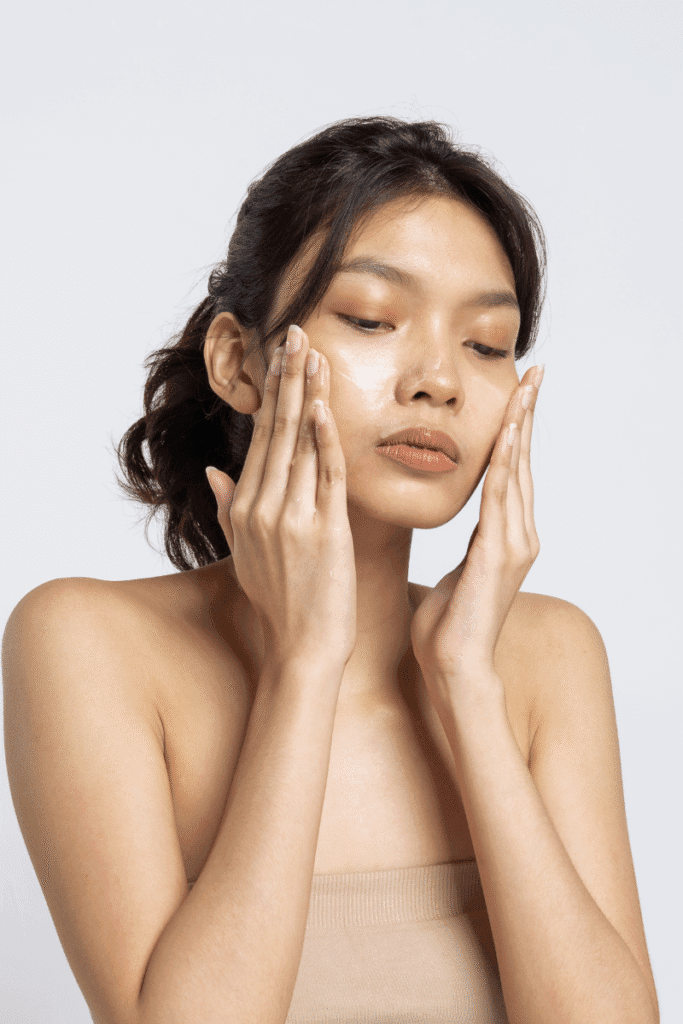
Step-by-Step Guide:
- Cleanse your face gently with a mild face wash.
Try this: DIY Hydrating Face Gel with Aloe & Cucumber - Pat dry — never rub.
- Dab a small amount of the DIY treatment on active pimples or red spots using a swab.
- Leave it overnight (or at least 2–3 hours).
- Rinse with lukewarm water the next morning.
🕒 Use once daily in the PM routine for best results.
A gentle method backed by research is spot-treating with tea tree oil—known for its antibacterial and anti-inflammatory properties—which has been found to reduce acne lesions and irritation effectively (Healthline)
Who Should Use This Natural Spot Treatment?
This natural spot treatment isn’t just for one skin type — it’s gentle, versatile, and suitable for a wide range of users. Here’s who can benefit most:
1. Acne-Prone or Oily Skin
If your skin tends to feel greasy by midday or you frequently deal with blackheads, whiteheads, or inflamed pimples, this DIY is ideal. The combination of tea tree and clove oil helps control excess oil, unclog pores, and fight bacteria without over-drying.
💡 Tip: Use it as soon as you feel a breakout coming to reduce its intensity.
2. Teenagers with Hormonal Breakouts
Teen skin is particularly vulnerable to hormonal fluctuations, which often trigger breakouts on the forehead, nose, and chin. This natural spot treatment is a safer, gentler alternative to harsh commercial acne creams often marketed to teens.
Always start with a patch test and begin with once-a-day use only.
3. Sensitive Skin (With a Patch Test)
Even sensitive skin types can benefit from this DIY, thanks to the soothing base of aloe vera. The key is to use it sparingly and ensure essential oils are properly diluted.
Pro Tip: Add an extra teaspoon of aloe vera for an even milder version if your skin tends to react easily.
4. Anyone Seeking Clean, Non-Toxic Skincare
If you’re moving toward a more holistic skincare approach, this spot treatment fits beautifully into a natural routine. It’s free from artificial colors, preservatives, alcohol, and synthetic fragrances — everything your skin doesn’t need.
Pair it with other clean DIYs like the Homemade Hydrating Face Mask for a complete natural routine.
Patch Test Reminder: Don’t Skip This Step!
While this recipe is natural, essential oils are still potent and must be handled with care — especially if you’re new to them. A patch test is a simple, 2-minute step that can prevent irritation.
How to Do a Patch Test:
- Apply a small amount of the finished DIY blend to your inner wrist or behind your ear.
- Leave it on for 12–24 hours.
- Check for any redness, itching, or discomfort.
- If your skin feels fine, you’re good to go!
✅ Do this every time you try a new essential oil or change the recipe.
What to Expect from Regular Use
Unlike quick-fix chemical creams, this natural spot treatment works gently — respecting your skin’s healing process. With consistent, nightly use, here’s what you may begin to notice:
- Redness around pimples begins to calm
- Pimples shrink and flatten within a few days
- Inflamed areas feel less sore and irritated
- Breakouts heal faster, with less scabbing or post-acne marks
- Fewer new pimples appear over time
Most users report seeing visible improvement within 3–5 days, especially when combined with good skin hygiene and a gentle routine.
Stick with it for at least a week to see full benefits — your skin will thank you for being patient!
Boost Your Results with These Skincare Habits
For your natural spot treatment to work at its best, support it with smart daily habits that keep skin clean, calm, and balanced:
- ✅ Wash your face twice a day — Use a mild, non-foaming cleanser to remove excess oil and buildup.
- ✅ Use sunscreen every morning — Prefer zinc oxide-based mineral sunscreens that are gentle on acne-prone skin.
- ✅ Hands off! — Avoid touching or popping pimples, which can worsen inflammation and leave scars.
- ✅ Change your pillowcases often — Ideally every 2–3 days to reduce bacteria buildup.
- ✅ Drink plenty of water & eat anti-inflammatory foods — Think cucumbers, leafy greens, turmeric, and omega-3-rich flaxseeds or walnuts.
- ✅ Use a weekly clarifying mask — Try our DIY Clay Mask for Oily Skin to detox pores and manage sebum naturally.
Good skincare isn’t just what you apply — it’s also about how you treat your skin every day.
FAQs on Natural Spot Treatments
Q. Can I apply this all over my face?
A: This is a spot treatment, not an all-over serum. Use only on active pimples or red spots.
Q. Can teens use this DIY?
A: Yes! But always test a small amount first. Teens with sensitive skin should dilute even more.
Q. Will it dry out my skin?
A: Not if used as directed. Aloe vera balances the essential oils, keeping it soothing and non-drying.
Q. Can I wear it under makeup?
A: Ideally, use it at night. If applying during the day, allow it to fully absorb before makeup.
For an even gentler approach, applying a warm compress or using natural remedies like green tea or aloe vera can help soothe inflammation and support healing in mild cases (Medical News Today).
Clean Skin, The Natural Way
There’s a reason more people are turning to natural spot treatments — they’re effective, easy to make, and kind to your skin. This DIY with clove and tea tree oils gives you a gentle but powerful way to manage breakouts naturally. Best of all, you control what goes on your skin.
Ready to give your skin a clean slate? Try this homemade blend — and ditch the chemical cocktails.
Related Reads on Skin Pantry
- Hydrating Face Gel with Aloe & Cucumber – Homemade Hydrating Face Mask
- Anti-Aging Face Pack Using Turmeric & Yogurt – Natural Anti-Aging Face Pack
- Sensitive Skin? Here’s a Calming DIY Routine That Works
Loved this routine? We share more like it on Pinterest!
Follow us on @NaturalSkinPantry for DIYs, seasonal skincare, and natural glow-ups
Disclaimer:
The information provided on skincaresolutions.in is for informational purposes only and reflects personal/home remedies that are commonly used in skincare. It should not replace professional advice. Please do a patch test before trying any new ingredient. If you have sensitive skin, allergies, or medical conditions, consult a dermatologist before use.